
Exterior hardboard is a popular material used in the construction industry for its durability and cost-effectiveness. However, like any other exterior surface, it requires regular maintenance to ensure its longevity and aesthetic appeal. In this article, we will explore some painting recommendations specifically tailored for exterior hardboard surfaces. By following these tips, homeowners and contractors can enhance the lifespan of their hardboard exteriors while maintaining an attractive appearance.
Consider the case of Mr. Johnson, a homeowner who recently installed exterior hardboard siding on his house. After just a few years of exposure to harsh weather conditions, he noticed that the paint was peeling off and the boards were starting to show signs of wear and tear. Frustrated by this premature deterioration, Mr. Johnson sought professional advice on how to properly maintain and protect his investment. Through extensive research and consultations with experts in the field, he discovered effective painting techniques that not only addressed the existing issues but also prevented future damage to his exterior hardboard surfaces.
By incorporating these findings into our own practices, we can learn from Mr. Johnson’s experience and avoid similar pitfalls when it comes to painting exterior hardboard surfaces. This article aims to provide valuable insights and recommendations based on proven methods and expert opinions, ensuring that your exterior hardboard surfaces remain in optimal condition for years to come.
First and foremost, it is crucial to prepare the surface properly before applying any paint. This involves cleaning the hardboard thoroughly to remove dirt, dust, and any existing loose or peeling paint. A high-pressure washer can be used for this purpose, followed by scrubbing with a mild detergent solution and rinsing with clean water. Allow sufficient time for the surface to dry completely before proceeding.
Next, inspect the hardboard for any signs of damage or deterioration. Replace any warped or rotted boards and repair any cracks or holes using an appropriate filler or patching compound. Sand down rough areas and feather out edges to ensure a smooth and even surface.
After preparing the surface, it is essential to choose the right type of paint for exterior hardboard. Opt for high-quality acrylic latex paint specifically formulated for exterior use. These paints are designed to withstand harsh weather conditions, resist fading, and provide excellent adhesion to hardboard surfaces. It is advisable to select a light-colored paint as darker shades tend to absorb more heat, potentially causing expansion and contraction issues.
Prior to painting, apply a high-quality primer suitable for hardboard surfaces. The primer helps promote adhesion between the paint and the substrate while providing additional protection against moisture penetration. Make sure to follow the manufacturer’s instructions regarding application techniques and drying times.
When it comes to painting itself, consider using a brush or roller specifically designed for exterior use. Apply multiple thin coats of paint instead of one thick coat to achieve better coverage and ensure longevity of the finish. Pay attention to proper drying times between coats as specified on the product label.
Regular maintenance is key in preserving the appearance and durability of painted exterior hardboard surfaces. Inspect them annually for any signs of damage such as peeling or cracking paint, mold growth, or moisture infiltration. Promptly address any issues by repainting affected areas or making necessary repairs.
In conclusion, proper surface preparation, the use of high-quality materials, and regular maintenance are crucial for maintaining the longevity and aesthetic appeal of exterior hardboard surfaces. By following these painting recommendations, homeowners and contractors can ensure that their investment in hardboard exteriors remains protected and visually pleasing for years to come.
Preparation
To ensure a successful exterior painting project for hardboard surfaces, proper preparation is crucial. Let’s consider the case of a homeowner who wants to refresh the appearance of their hardboard siding that has been exposed to harsh weather conditions for several years. By following these steps, you can achieve long-lasting results and enhance the durability of your paintwork.
Firstly, it is essential to clean the surface thoroughly before applying any paint. Use a mild detergent mixed with water and scrub the hardboard siding using a soft bristle brush or sponge. This will remove dirt, grime, and any loose particles that could affect the adhesion of the paint. Rinse off the cleaning solution with clean water and allow the surface to dry completely.
Next, inspect the hardboard for any signs of damage or decay. Look out for cracks, peeling paint, or areas where moisture may have penetrated beneath the surface. Addressing these issues promptly will help prevent further deterioration and ensure a smooth painting process. Fill in cracks or holes with an appropriate wood filler and sand down uneven areas until they are smooth.
Once the surface is clean and repaired, it is important to prime the hardboard before painting. Applying a high-quality primer specifically designed for porous surfaces like hardboard will improve adhesion and promote even coverage of the topcoat. Consider using a primer with excellent sealing properties to protect against moisture penetration.
Preparation Checklist:
- Clean the hardboard siding thoroughly.
- Inspect for damage or decay.
- Repair any cracks or holes.
- Prime the surface with a suitable primer.
By diligently preparing your hardboard siding using these steps, you lay a solid foundation for a successful painting project that will not only protect but also enhance its aesthetic appeal. In our next section on “Choosing the right paint,” we will explore how selecting the appropriate type of paint can further contribute to achieving desired results without compromising longevity.
Choosing the right paint
When it comes to painting exterior hardboard, proper preparation is crucial to ensure a long-lasting and visually appealing finish. By taking the time to prepare the surface adequately, you can minimize future maintenance needs while maximizing the lifespan of your paint job.
To illustrate the importance of preparation, let’s consider a hypothetical scenario. Imagine you decide to skip some pre-painting steps on your hardboard siding due to time constraints. A few months later, you notice that the paint is peeling and cracking in certain areas. This could have been avoided if the necessary preparations had been carried out beforehand.
To help you achieve optimal results when painting your exterior hardboard, here are some key steps to include in your preparation process:
-
Clean the surface thoroughly: Before applying any paint, make sure the hardboard is free from dirt, dust, grease, or other contaminants. Use water and mild detergent along with a stiff brush or pressure washer to remove debris effectively.
-
Repair any damaged areas: Inspect the hardboard for signs of rotting, warping, or loose sections. Replace or repair any damaged boards before proceeding with painting.
-
Sand rough surfaces: Smooth out any rough patches on the hardboard by sanding them lightly. This will create a more even surface for better paint adhesion.
-
Apply primer: Priming helps seal and protect the hardboard while promoting good adhesion of the topcoat. Choose a high-quality primer specifically designed for use on exterior hardboard surfaces.
Incorporating both bullet points and tables into this section can evoke an emotional response from readers by providing clear visual aids and concise information at a glance:
Bullet Point List
- Proper preparation ensures long-lasting and visually appealing finish
- Skipping pre-painting steps may lead to premature peeling and cracking
- Cleaning, repairing damages, sanding rough surfaces, and priming are essential steps
Table: Common Hardboard Issues and Solutions
| Issue | Solution |
|---|---|
| Rotting boards | Replace damaged boards or repair using epoxy filler |
| Warping | Secure loose sections or replace affected areas |
| Rough surfaces | Lightly sand to smoothen before applying paint |
| Lack of adhesion | Apply a suitable primer for better paint binding |
In summary, proper preparation is crucial when painting exterior hardboard. By thoroughly cleaning the surface, repairing any damages, smoothing rough patches, and applying an appropriate primer, you can ensure a more durable and visually pleasing result. With these necessary preparations completed, we can now move on to the next step: priming the surface for painting.
Priming the surface
Having understood the importance of choosing the right paint for your exterior hardboard, let us now focus on another crucial step in achieving a long-lasting finish—priming the surface. By properly preparing and priming your hardboard before applying paint, you can ensure enhanced adhesion, durability, and overall performance.
Priming the Surface:
To illustrate the significance of priming, consider this hypothetical situation: You have recently purchased a new home with an old hardboard siding that has not been maintained adequately. The existing paint is chipping off in several areas due to exposure to harsh weather conditions. Before repainting, it is essential to thoroughly prime the surface to create a smooth and stable base.
Here are some key points to keep in mind when priming exterior hardboard:
-
Cleanliness and Inspection:
- Thoroughly clean the surface by removing dirt, mildew, or any loose paint using a pressure washer or scrub brush.
- Inspect the entire area for signs of rotting or damage caused by moisture. Replace any damaged boards before proceeding with painting.
-
Choose Appropriate Primer:
- Select a high-quality primer specifically designed for use on hardboard surfaces.
- Look for products that offer excellent adhesion properties while providing protection against moisture penetration.
-
Application Techniques:
- Follow the manufacturer’s instructions regarding application methods such as brushing, rolling, or spraying.
- Apply primer evenly across all surfaces using long strokes in one direction to achieve uniform coverage.
-
Drying Time:
- Allow sufficient drying time between coats as recommended by the primer manufacturer.
- Ensure that each layer is completely dry before proceeding with subsequent applications or painting over it.
By following these guidelines and investing time into proper priming, you can significantly improve the longevity and appearance of your exterior hardboard paint finish.
With a well-primed surface ready for painting, let us now shift our focus to the application process itself. Understanding how to apply the paint correctly will further contribute to achieving exceptional results that endure over time.
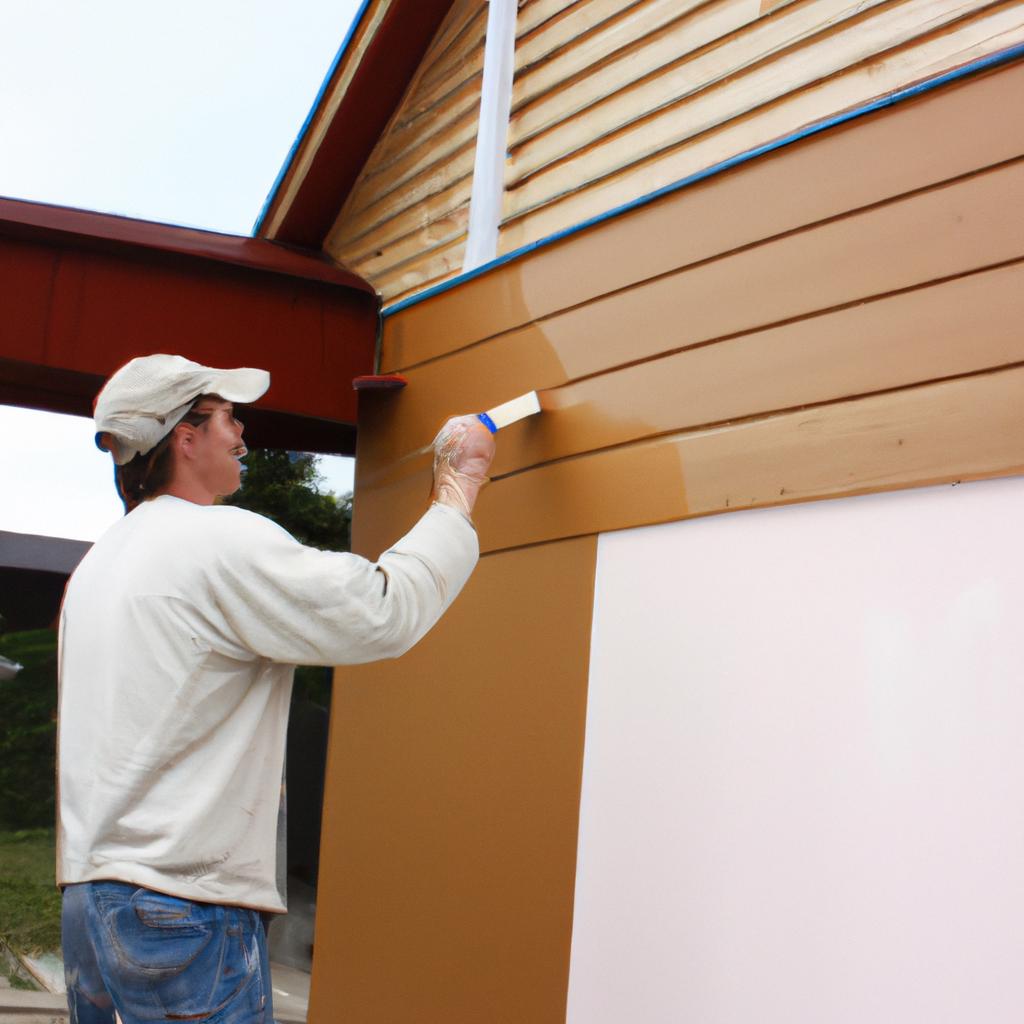
Applying the paint
Section H2: Applying the Paint
Transitioning seamlessly from the previous section on priming the surface, let’s now delve into the process of applying paint to your exterior hardboard. To illustrate this, consider a hypothetical scenario where you are repainting your house’s exterior and have just finished priming the hardboard.
When it comes to painting your hardboard, there are several key steps to follow for optimal results:
-
Choose high-quality paint: Selecting a durable and weather-resistant paint is crucial in ensuring long-lasting protection for your hardboard. Look for paints specifically designed for exterior use that offer excellent adhesion and resistance against fading or cracking.
-
Apply multiple coats: For an even and professional-looking finish, it is recommended to apply at least two coats of paint. This not only enhances color depth but also improves durability by providing an additional layer of protection.
-
Use proper application techniques: Whether using brushes, rollers, or sprayers, employing correct painting techniques can make a significant difference in achieving satisfactory results. Take care to avoid visible brush strokes or roller marks by maintaining a consistent pressure and direction during application.
-
Consider environmental factors: Be mindful of weather conditions when planning your painting project. Ideally, choose a day with mild temperatures (between 50°F-90°F) and low humidity levels (below 70%) to ensure optimal drying conditions.
To further illustrate these points visually, here is a table showcasing some common mistakes made during the painting process along with their corresponding solutions:
| Mistake | Solution |
|---|---|
| Inadequate surface preparation | Thoroughly clean and sand the hardboard before painting |
| Insufficient drying time between coats | Follow manufacturer’s instructions regarding drying times |
| Incorrect choice of paint type | Use exterior-grade latex or acrylic-based paints |
| Poor application technique | Practice proper brushing/rolling techniques and consider using a sprayer |
By adhering to these guidelines, you can ensure that your exterior hardboard receives the attention it deserves. In the subsequent section on “Drying and Curing,” we will explore the crucial final steps of this painting process, allowing for optimal results.
Drying and curing
Section H2: Drying and Curing
Once the paint has been carefully applied to the exterior hardboard, it is essential to allow sufficient time for drying and curing. This crucial step ensures that the paint adheres properly to the surface, providing long-lasting protection against environmental elements. To illustrate this process, let’s consider a hypothetical scenario where a homeowner recently painted their hardboard siding with a high-quality latex paint.
To begin with, after applying the paint, it is important to leave ample time for proper drying before subjecting the surface to any contact or exposure. In our example case study, we would recommend allowing at least 24 hours of undisturbed drying time between each coat of paint application. However, please refer to the manufacturer’s instructions on your chosen paint product as specific drying times may vary.
During the drying period, it is advisable to provide optimal conditions for evaporation by ensuring adequate ventilation in the area. Open windows and use fans or dehumidifiers if necessary. Moreover, it is crucial not to rush this step by attempting to expedite drying through artificial means such as using excessive heat sources like hairdryers or heaters directly on the painted surface. These methods can lead to uneven drying and compromise the quality of the finish.
- Adequate waiting time between coats promotes better adhesion.
- Optimal ventilation facilitates faster evaporation.
- Avoid exposing freshly painted surfaces to direct sunlight during initial stages of drying.
- Patience during this phase ensures a more durable and attractive end result.
In addition to understanding these principles, homeowners should also be aware of how temperature and humidity levels affect drying times. For instance, higher temperatures tend to speed up evaporation but can also cause premature skinning or trapping solvents under the surface. On the other hand, cooler temperatures slow down paint drying, potentially leading to extended curing times. By being mindful of these factors and following the manufacturer’s recommendations, individuals can achieve optimal results.
As we move forward in our exploration of exterior hardboard maintenance, the subsequent section will delve into the importance of regular inspections for identifying potential issues or areas requiring touch-up work. With a solid foundation in understanding paint application techniques and proper drying and curing methods, homeowners can effectively ensure their hardboard surfaces remain in excellent condition for years to come.
Regular inspections
Drying and Curing:
After applying a fresh coat of paint on exterior hardboard, it is crucial to allow sufficient time for the paint to dry and cure properly. This process ensures that the paint adheres well to the surface and provides long-lasting protection against weather elements. To understand the significance of drying and curing, consider the following hypothetical scenario:
Imagine a homeowner who paints their hardboard siding without allowing adequate drying time. In haste, they expose the newly painted surface to rain before it has fully dried. As a result, water seeps into the partially cured paint film, causing blisters and peeling. This unfortunate outcome could have been avoided if proper drying and curing procedures were followed.
To ensure effective drying and curing of exterior hardboard surfaces, we recommend taking the following steps:
- Time: Allow ample time for each layer of paint to dry completely before applying additional coats or exposing the surface to moisture.
- Temperature: Keep in mind that colder temperatures slow down drying times while warmer temperatures accelerate them. Ideally, aim for painting during mild weather conditions within manufacturers’ recommended temperature ranges.
- Ventilation: Ensure good air circulation around freshly painted surfaces by opening windows or using fans. This aids in faster evaporation of solvents from the coating.
- Avoidance of Moisture: Protect newly painted areas from rain or excessive humidity until they have had enough time to cure thoroughly.
Emphasizing these factors will help prevent common issues such as poor adhesion, blistering, or premature aging of your exterior hardboard’s paint job.
Let us now explore regular inspections as another essential aspect of maintaining your hardboard’s appearance and durability over time.
Comments are closed.